
Deadlock replayCase No. 126929296
Amber 36 : 53 Sapphire · 38:39 · Sapphire won
Ivy, Bebop, Infernus, Deadman Danny, Seven, Lash, Celeste, Mina, Mo & Krill, Drifter, Kelvin, Wraith
Loading the replay…
Team review / 29 engagements
Who was in position?
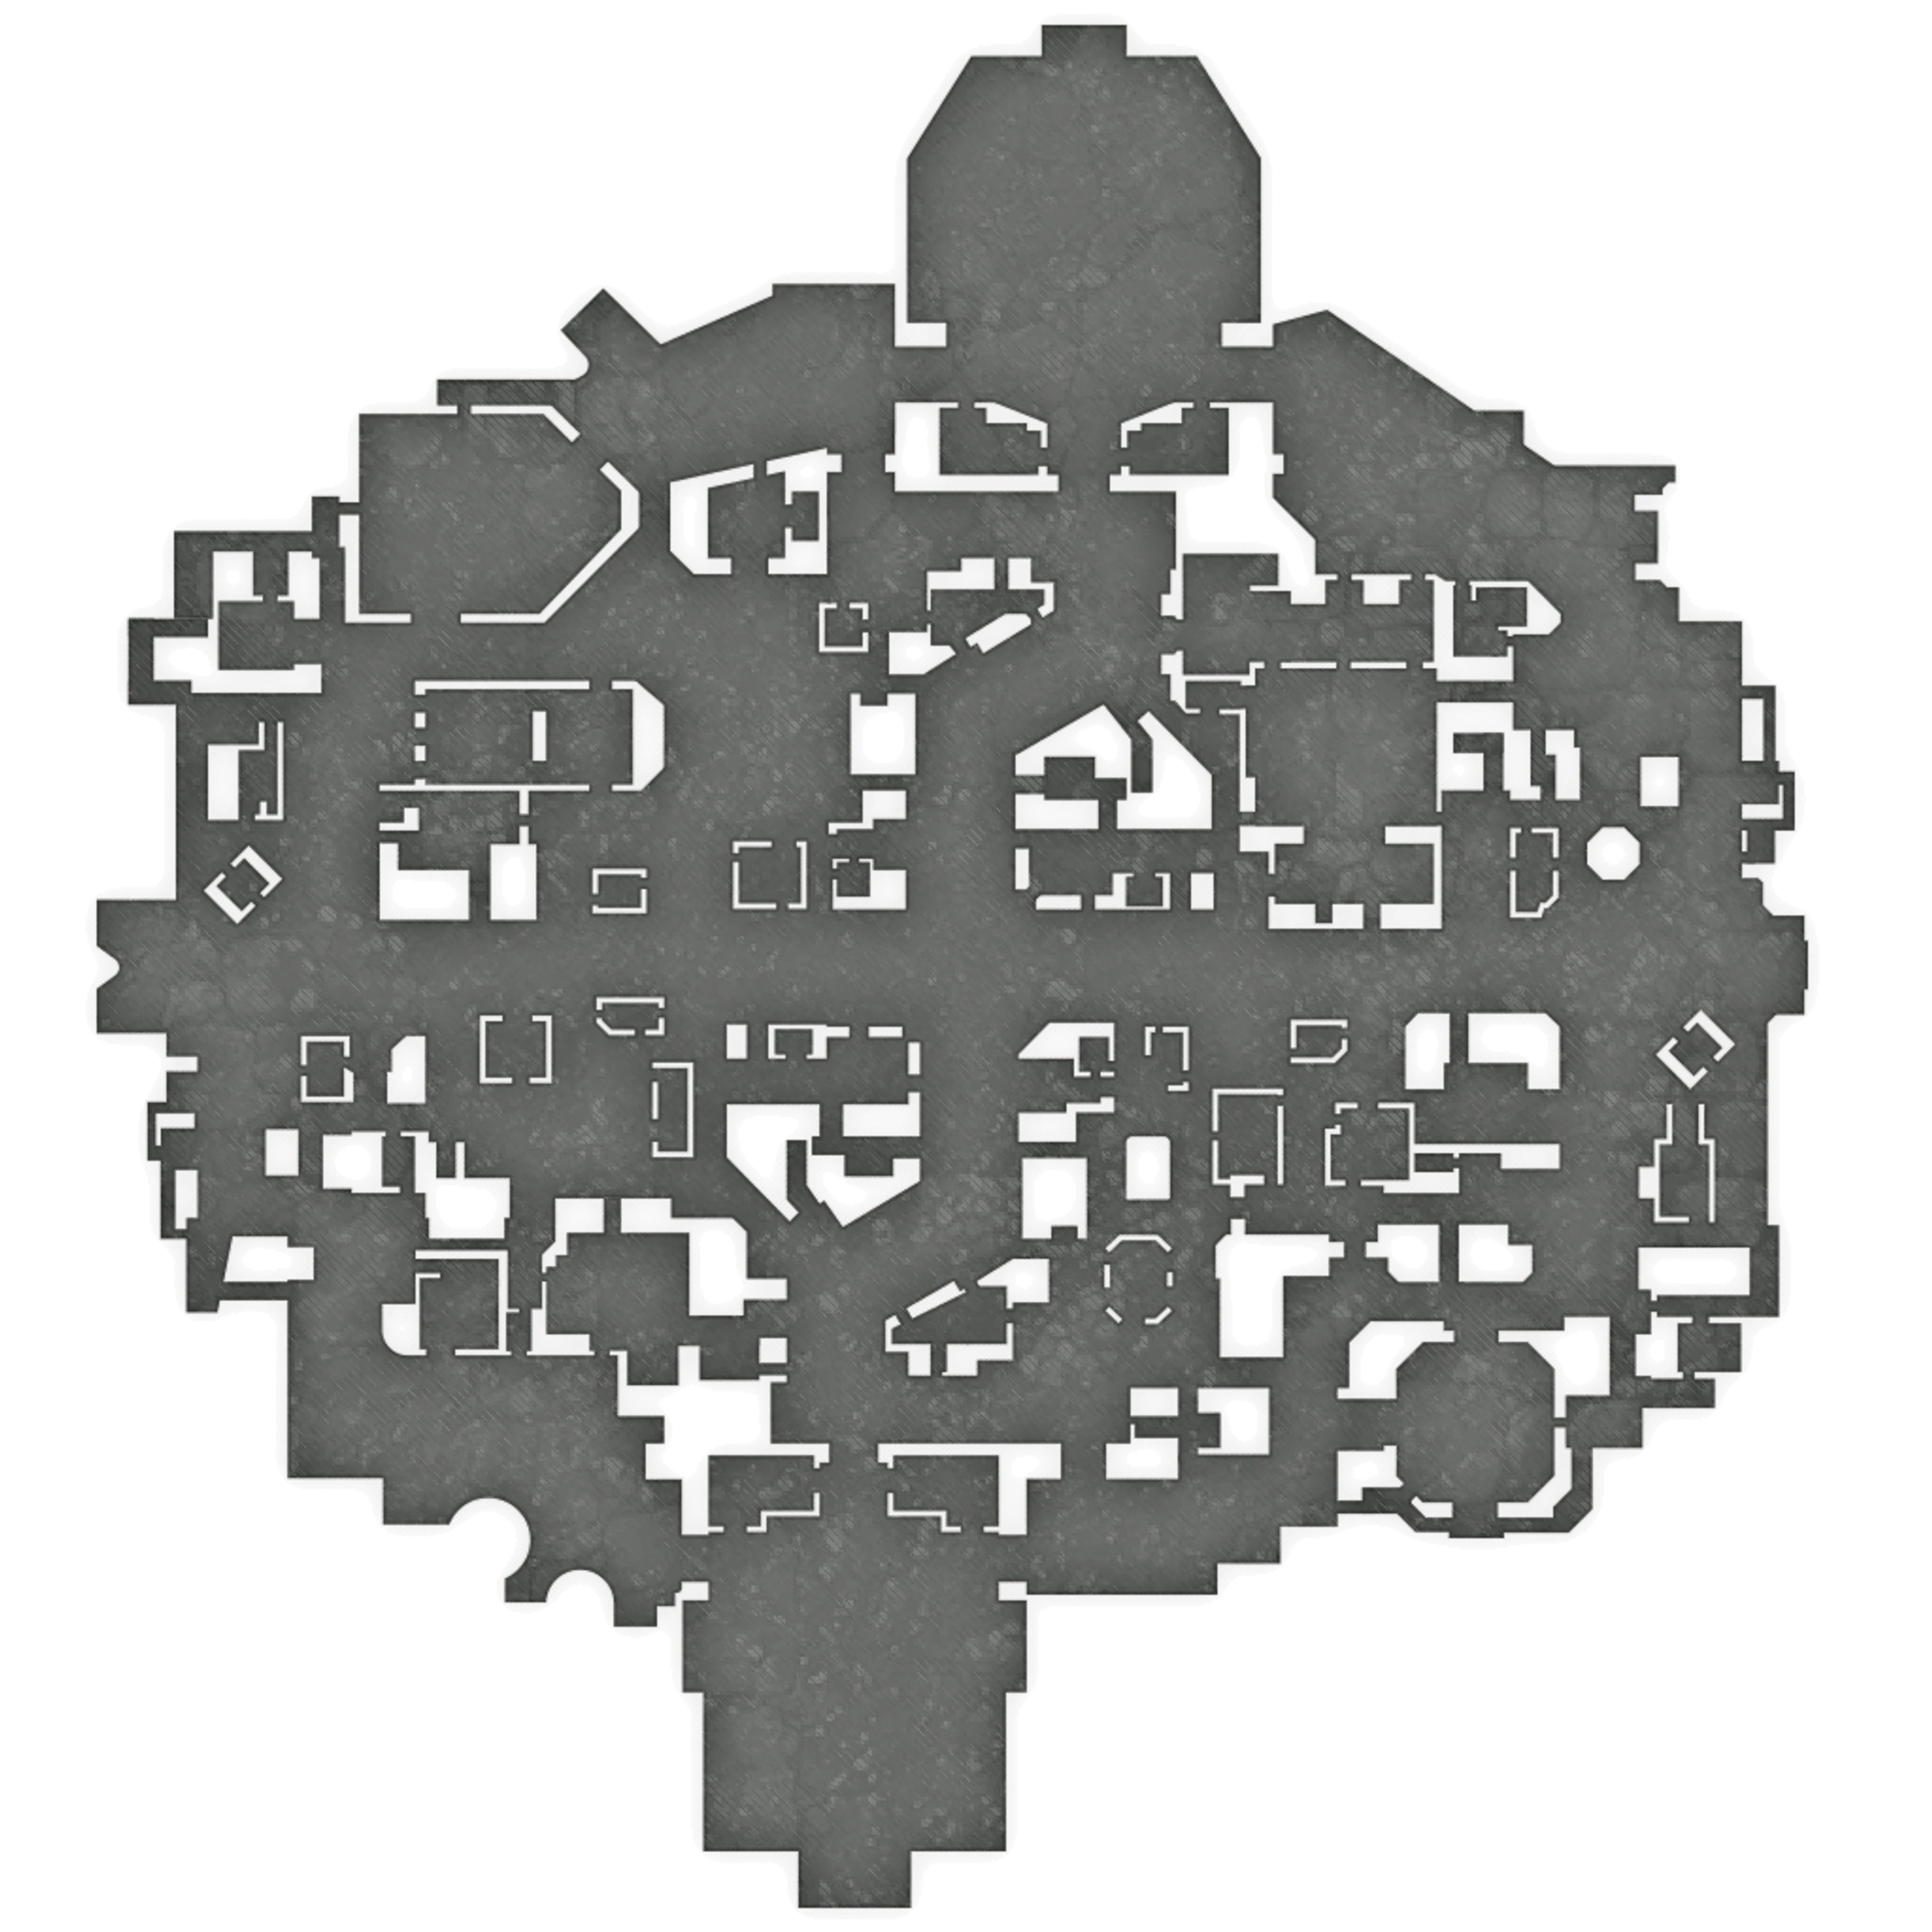
Compare each hero’s recorded position across fights. Open a moment to see the paths and discuss the call.
Swipe across fights →
 Bebop
 Infernus
 Celeste
 Mina
 Mo & Krill
The area is a 2,200-unit radius around the first death. “At setup” means 8 seconds before it; entry times are relative to that death. Positions are sampled twice a second. “No entry” means no sampled entry through +20 seconds, even if a hero died during that window. It does not mean a player should have joined. Missing samples, vision and intent limit what this view can say.
Replay review / 29 engagements
Fights worth another look
Each link opens the map at the setup snapshot, with nearby heroes and recorded entry paths. Labels use the positions eight seconds before the first death: a gank pattern is a lone victim against at least two nearby opponents; a teamfight has at least three heroes from each side nearby. They describe observed deaths, not intent.
Where did the map move next?
After each two-death or larger edge, see the first recorded structure or Mid-Boss event in the next 90 seconds. The delay starts at the last death. Timing does not prove the fight caused the event, and one event can follow more than one review window.
- Sapphire 3–0Review setup ↗AmberWest lane Guardian
- Sapphire 3–0Review setup ↗SapphireEast lane Walker
- Amber 2–0Review setup ↗AmberEast lane Walker
- Sapphire 2–0Review setup ↗SapphireCentre lane Base Guardian
- Sapphire 3–0Review setup ↗SapphireCentre lane Base Guardian
- Sapphire 2–0Review setup ↗SapphireWest lane Base Guardian
- Sapphire 4–0Review setup ↗SapphirePatron
 1s window · Even tradeAmber 1:1 SapphireAmber +248 lead change nearbyReview →Add a team note at 3:22 →
At 3:14 · 8s before first death
Amber 1/6 nearbySapphire 2/6 nearbyAmber +609 soulsEntered the areaDeadman Danny +1sMap follow-up · next 90s
No recorded structure or Mid-Boss event.- same second · Sapphire gank pattern · 2v1 at setupAmber 0:1 SapphireSapphire +910 lead change nearbyReview →Add a team note at 6:19 →
At 6:11 · 8s before first death
Amber 1/6 nearbySapphire 2/6 nearbyAmber +728 soulsEntered the areaDeadman Danny -7sMap follow-up · next 90s
- same second · Amber gank pattern · 2v1 at setupAmber 1:0 SapphireSapphire +238 lead change nearbyReview →Add a team note at 6:45 →
At 6:37 · 8s before first death
Amber 2/6 nearbySapphire 1/6 nearbySapphire +76 soulsEntered the areaMo & Krill +2sMap follow-up · next 90s
- 4s window · Even tradeAmber 1:1 SapphireSapphire +397 lead change nearbyReview →Add a team note at 9:48 →
At 9:40 · 8s before first death
Amber 2/6 nearbySapphire 2/6 nearbySapphire +3.7k soulsMap follow-up · next 90s
- 15s window · Uneven tradeAmber 1:2 SapphireSapphire +1.4k lead change nearbyReview →Add a team note at 10:48 →
At 10:40 · 8s before first death
Amber 2/6 nearbySapphire 1/6 nearbySapphire +6.3k soulsEntered the areaMina -8sMap follow-up · next 90s
- same second · Sapphire gank pattern · 2v1 at setupAmber 0:1 SapphireAmber +336 lead change nearbyReview →Add a team note at 11:51 →
At 11:43 · 8s before first death
Amber 1/6 nearbySapphire 2/6 nearbySapphire +11.0k soulsEntered the areaMina -3sMap follow-up · next 90s
- same second · Amber gank pattern · 3v1 at setupAmber 1:0 SapphireAmber +1.6k lead change nearbyReview →Add a team note at 12:05 →
At 11:57 · 8s before first death
Amber 3/5 nearbySapphire 1/6 nearbySapphire +10.7k soulsMap follow-up · next 90s
- 26s window · Skirmish · Unanswered deathsAmber 0:3 SapphireAmber +116 lead change nearbyReview →Add a team note at 12:16 →
At 12:08 · 8s before first death
Amber 2/5 nearbySapphire 3/5 nearbySapphire +11.5k soulsEntered the areaIvy +18sMap follow-up · next 90s
- same second · Amber gank pattern · 4v1 at setupAmber 1:0 SapphireAmber +1.0k lead change nearbyReview →Add a team note at 13:25 →
At 13:17 · 8s before first death
Amber 4/6 nearbySapphire 1/6 nearbySapphire +13.7k soulsMap follow-up · next 90s
- same second · Amber gank pattern · 3v1 at setupAmber 1:0 SapphireAmber +677 lead change nearbyReview →Add a team note at 13:59 →
At 13:51 · 8s before first death
Amber 3/6 nearbySapphire 1/4 nearbySapphire +9.3k soulsMap follow-up · next 90s
- same second · Amber gank pattern · 2v1 at setupAmber 1:0 SapphireAmber +827 lead change nearbyReview →Add a team note at 15:12 →
At 15:04 · 8s before first death
Amber 2/5 nearbySapphire 1/6 nearbySapphire +11.7k soulsEntered the areaDeadman Danny +1sIvy +7sKelvin +7sMap follow-up · next 90s
No recorded structure or Mid-Boss event. - same second · Amber gank pattern · 4v1 at setupAmber 1:0 SapphireAmber +776 lead change nearbyReview →Add a team note at 15:46 →
At 15:38 · 8s before first death
Amber 4/6 nearbySapphire 1/5 nearbySapphire +9.3k soulsEntered the areaCeleste +1sMap follow-up · next 90s
No recorded structure or Mid-Boss event. - 19s window · Skirmish · Unanswered deathsAmber 0:3 SapphireSapphire had 2 nearby vs 4 at setup · 3–0 deathsSapphire +3.3k lead change nearbyReview →Add a team note at 19:05 →
At 18:57 · 8s before first death
Amber 4/6 nearbySapphire 2/5 nearbySapphire +15.9k soulsEntered the areaIvy -2sKelvin -1sWraith +7sMap follow-up · next 90s
- same second · Sapphire gank pattern · 3v1 at setupAmber 0:1 SapphireSapphire +1.6k lead change nearbyReview →Add a team note at 19:43 →
At 19:35 · 8s before first death
Amber 1/3 nearbySapphire 3/6 nearbySapphire +19.2k soulsEntered the areaDeadman Danny +15sMap follow-up · next 90s
- 1s window · Skirmish · Unanswered deathsAmber 2:0 SapphireAmber +7.7k lead change nearbyReview →Add a team note at 20:57 →
At 20:49 · 8s before first death
Amber 4/6 nearbySapphire 2/6 nearbySapphire +21.0k soulsEntered the areaInfernus -3sWraith +0sDrifter +6sMap follow-up · next 90s
- same second · Amber gank pattern · 2v1 at setupAmber 1:0 SapphireSapphire +1.3k lead change nearbyReview →Add a team note at 21:16 →
At 21:08 · 8s before first death
Amber 2/6 nearbySapphire 1/4 nearbySapphire +13.2k soulsEntered the areaInfernus -7sDrifter -3sSeven +7sMap follow-up · next 90s
- 9s window · Even tradeAmber 1:1 SapphireAmber +5.2k lead change nearbyReview →Add a team note at 21:35 →
At 21:27 · 8s before first death
Amber 4/6 nearbySapphire 1/3 nearbySapphire +14.6k soulsMap follow-up · next 90s
No recorded structure or Mid-Boss event. - same second · Amber gank pattern · 2v1 at setupAmber 1:0 SapphireAmber +3.1k lead change nearbyReview →Add a team note at 22:59 →
At 22:51 · 8s before first death
Amber 2/5 nearbySapphire 1/6 nearbySapphire +12.2k soulsMap follow-up · next 90s
No recorded structure or Mid-Boss event. - same second · Sapphire gank pattern · 2v1 at setupAmber 0:1 SapphireSapphire +1.0k lead change nearbyReview →Add a team note at 24:14 →
At 24:06 · 8s before first death
Amber 1/5 nearbySapphire 2/6 nearbySapphire +8.8k soulsEntered the areaDeadman Danny +3sSeven +4sBebop +5sMap follow-up · next 90s
- 26s window · Uneven tradeAmber 1:2 SapphireSapphire +1.2k lead change nearbyReview →Add a team note at 24:39 →
At 24:31 · 8s before first death
Amber 3/5 nearbySapphire 2/6 nearbySapphire +11.2k soulsEntered the areaWraith -3sInfernus +7sIvy +11sMap follow-up · next 90s
- 6s window · Uneven tradeAmber 2:1 SapphireSapphire +611 lead change nearbyReview →Add a team note at 26:45 →
At 26:37 · 8s before first death
Amber 2/5 nearbySapphire 3/6 nearbySapphire +2.7k soulsEntered the areaMina +4sDrifter +19sMap follow-up · next 90s
No recorded structure or Mid-Boss event. - 10s window · Skirmish · Unanswered deathsAmber 0:2 SapphireSapphire +1.8k lead change nearbyReview →Add a team note at 28:11 →
At 28:03 · 8s before first death
Amber 3/5 nearbySapphire 2/6 nearbySapphire +5.5k soulsEntered the areaKelvin -7sDeadman Danny -6sMina -1sMap follow-up · next 90s
- 8s window · Amber wiped outAmber 0:3 SapphireAmber all dead · Sapphire +7.1k lead change nearbyReview →Add a team note at 28:42 →
At 28:34 · 8s before first death
Amber 3/3 nearbySapphire 4/6 nearbySapphire +8.8k soulsMap follow-up · next 90s
- 12s window · Teamfight · Unanswered deathsAmber 0:2 SapphireSapphire +4.1k lead change nearbyReview →Add a team note at 31:39 →
At 31:31 · 8s before first death
Amber 4/4 nearbySapphire 4/6 nearbySapphire +24.3k souls - 8s window · Amber wiped outAmber 1:1 SapphireAmber all dead · Sapphire +8.9k lead change nearbyReview →Add a team note at 31:45 →
At 31:37 · 8s before first death
Amber 0/4 nearbySapphire 1/6 nearbySapphire +24.3k soulsEntered the areaIvy -7sWraith -7sSeven -5sDrifter +8s+1 more - 23s window · Uneven tradeAmber 2:1 SapphireAmber +3.3k lead change nearbyReview →Add a team note at 34:14 →
At 34:06 · 8s before first death
Amber 0/6 nearbySapphire 2/5 nearbySapphire +37.6k soulsEntered the areaSeven -6sIvy -5sLash -2sDeadman Danny +8s+1 moreMap follow-up · next 90s
No recorded structure or Mid-Boss event. - 21s window · Uneven tradeAmber 3:2 SapphireSapphire +3.6k lead change nearbyReview →Add a team note at 36:21 →
At 36:13 · 8s before first death
Amber 2/6 nearbySapphire 2/5 nearbySapphire +28.6k soulsEntered the areaMo & Krill -7sInfernus -5sLash -4sWraith -4s+2 moreMap follow-up · next 90s
- 32s window · Teamfight · Unanswered deathsAmber 0:4 SapphireSapphire +10.9k lead change nearbyReview →Add a team note at 37:29 →
At 37:21 · 8s before first death
Amber 3/4 nearbySapphire 3/3 nearbySapphire +25.8k soulsEntered the areaInfernus +17sMap follow-up · next 90s
- same second · Sapphire gank pattern · 2v1 at setupAmber 0:1 SapphireSapphire +1.9k lead change nearbyReview →Add a team note at 38:25 →
At 38:17 · 8s before first death
Amber 1/2 nearbySapphire 2/6 nearbySapphire +37.2k soulsEntered the areaKelvin -6sDrifter -5sBebop -3sMo & Krill -3sMap follow-up · next 90s
How were these engagements found?
Two or more deaths within 18 seconds and 2,200 map units form a review window. A single death appears only when the victim was alone at setup against at least two nearby opponents, or when it completes a recorded team wipe. Outcome labels describe the recorded deaths: an even trade has equal deaths on both sides, unanswered deaths occur on one side, and an uneven trade has deaths on both sides but unequal counts. The map marker is the average death position. During playback, a ring marks a 2,200-unit review area around the first death from 5 seconds before to 5 seconds after the death window; it is not a precise fight boundary. The setup counts living heroes within that area 8 seconds before the first death. Arrivals are the first sampled entries through 20 seconds after it. A negative arrival time means before that death. An “all dead” marker requires the whole team’s health samples to change from at least one living hero to none during the window; it does not mean this cluster caused every death. Positions are sampled twice a second and do not reveal vision, abilities or intent. Soul lead and lead change come from 10-second scoreboard samples; nearby events can affect the change. Follow-ups are recorded objective events after the last death; timing alone does not prove the fight caused one, and an event can appear after more than one nearby window.
Map review / 18 structures
Where did structures fall?
Replay each loss from the same eight-second setup point, with both teams’ recorded positions around the target.
6fell with living defenders elsewhere, none near the target
3were followed by an opposing structure within 90s
Sapphire took
Centre lane Guardian
No hero credited
Taking side 2/6 nearbyDefending side 2/5 nearbyAt setup: Sapphire +610 souls
Sapphire took
West lane Guardian
Credited: Mo & Krill
Taking side 3/5 nearbyDefending side 1/4 nearbyAt setup: Sapphire +4.2k souls
Sapphire took
East lane Guardian
Credited: Drifter
Taking side 1/5 nearbyDefending side 0/5 nearbyAt setup: Sapphire +10.6k souls
+33s · Amber took East lane Guardian
Amber took
East lane Guardian
Credited: Ivy
Taking side 0/5 nearbyDefending side 0/6 nearbyAt setup: Sapphire +10.7k souls
Amber took
West lane Guardian
No hero credited
Taking side 1/6 nearbyDefending side 1/4 nearbyAt setup: Sapphire +9.3k souls
+24s · Sapphire took Centre lane Walker
Sapphire took
Centre lane Walker
Credited: Drifter
Taking side 0/5 nearbyDefending side 2/6 nearbyAt setup: Sapphire +7.5k souls
Sapphire took
West lane Walker
Credited: Celeste
Taking side 0/6 nearbyDefending side 0/5 nearbyAt setup: Sapphire +13.6k souls
+11s · Amber took Centre lane Guardian
Amber took
Centre lane Guardian
Credited: Ivy
Taking side 2/5 nearbyDefending side 1/6 nearbyAt setup: Sapphire +15.6k souls
Sapphire took
East lane Walker
Credited: Kelvin
Taking side 3/6 nearbyDefending side 2/4 nearbyAt setup: Sapphire +20.5k souls
Amber took
East lane Walker
Credited: Infernus
Taking side 3/6 nearbyDefending side 1/3 nearbyAt setup: Sapphire +13.5k souls
Amber took
West lane Walker
Credited: Ivy
Taking side 2/4 nearbyDefending side 2/4 nearbyAt setup: Sapphire +12.5k souls
Sapphire took
Centre lane Base Guardian
Credited: Celeste
Taking side 0/6 nearbyDefending side 0/0 nearbyAt setup: Sapphire +15.9k souls
Sapphire took
Centre lane Base Guardian
Credited: Celeste
Taking side 2/6 nearbyDefending side 4/5 nearbyAt setup: Sapphire +20.7k souls
Sapphire took
West lane Base Guardian
Credited: Mina
Taking side 3/5 nearbyDefending side 0/2 nearbyAt setup: Sapphire +28.5k souls
Sapphire took
West lane Base Guardian
Credited: Mina
Taking side 2/5 nearbyDefending side 0/0 nearbyAt setup: Sapphire +33.2k souls
Sapphire took
East lane Base Guardian
Credited: Celeste
Taking side 3/4 nearbyDefending side 0/2 nearbyAt setup: Sapphire +42.8k souls
Sapphire took
East lane Base Guardian
Credited: Celeste
Taking side 2/4 nearbyDefending side 0/3 nearbyAt setup: Sapphire +38.2k souls
Sapphire took
Patron
No hero credited
Taking side 5/6 nearbyDefending side 1/1 nearbyAt setup: Sapphire +37.6k souls
“Nearby” means a living hero within 2,200 map units 8 seconds before the structure fell, using positions sampled twice a second. A zero can mean defenders were elsewhere, already dead, or missing from the demo; the card separates those cases. Taking-side heroes may arrive after the snapshot. An opposing objective within 90 seconds is a recorded sequence, not proof of a planned trade or of causality. Positions do not reveal vision or intent.
Position before death
Who was nearby?
Choose a hero to review spacing five seconds before each death. Open a replay moment to see what led there.
9 reviewable deaths · 5 with no living teammate within 2,200 units at the setup snapshot
 Ivy · killed by Drifter1 allies2 enemies within 2,200 unitsNearest living ally: 1,337 unitsReview →
- Ivy · killed by Drifter1 allies2 enemies within 2,200 unitsNearest living ally: 1,053 unitsReview →
- Ivy · killed by Mina1 allies2 enemies within 2,200 unitsNearest living ally: 561 unitsReview →
- Ivy · killed by Wraith0 allies3 enemies within 2,200 unitsNearest living ally: 7,554 unitsReview →
- Ivy · killed by Drifter0 allies3 enemies within 2,200 unitsNearest living ally: 8,635 unitsReview →
- Ivy · killed by Drifter0 allies1 enemies within 2,200 unitsNearest living ally: 5,379 unitsReview →
- Ivy · killed by Drifter0 allies2 enemies within 2,200 unitsNearest living ally: 2,280 unitsReview →
- Ivy · killed by Wraith3 allies3 enemies within 2,200 unitsNearest living ally: 555 unitsReview →
- Ivy · killed by Wraith0 allies5 enemies within 2,200 unitsNearest living ally: 2,264 unitsReview →
Positions are sampled 5 seconds before the death, with interpolation between replay samples. Deaths are omitted when the replay already marks that hero dead at the setup tick. Counts include living heroes within 2,200 world units of the victim. Distance alone cannot show vision, abilities, intent, or whether the death was avoidable.
Map review / positions while alive
Where did they play?
Compare two heroes by game phase. Brighter marks mean more time in that part of the map.
114 sampled positions while alive · one every five seconds
117 sampled positions while alive · one every five seconds
Each mark covers roughly 670 × 670 world units. Density is scaled against the two selected heroes in this phase. Sampling skips dead heroes and does not show vision, intent, or control of an area.
Private workspace
Team review agenda
Checking sign-in…
Replay evidence / 126929296
What happened in this match
Amber
- Souls
- 241k
- Hero damage
- 203k
- Structures taken
- 5
- Kills
- 36
Sapphire won
- Souls
- 281k
- Hero damage
- 228k
- Structures taken
- 13
- Kills
- 53
Souls, over time
10-second samples + final scoreSapphire held the largest recorded lead: 42,795 souls at 32:40. The chart records souls, not who controlled the map.
Hero damage
Final scoreboard · top six KelvinMetal極 · 13/6/2562.9k
 Driftersablepa.ws · 17/7/1257.8k
 WraithSedika · 8/10/1450.5k
 SevenJeffrey E · 8/8/1144.7k
 Deadman DannyOriginal9168 · 3/7/1337.8k
 Lashfrankdtank315 · 11/11/936.0k
Damage is the game's final hero damage counter. The replay breaks it down by ability and item. Read the damage guide.
Match landmarks
First structure of each type, plus Mid-Boss kills- Lash drew first blood on Mo & Krill
- Sapphire destroyed the Centre lane Guardian
- Drifter destroyed the Centre lane Walker
- Celeste destroyed the Centre lane Base Guardian
- Wraith killed the Mid-Boss
- Celeste killed the Mid-Boss
- Sapphire destroyed the Patron
These events mark the match. Open the replay above to see the positions and fights around them.
Match summary
Sapphire won this 38:39 Deadlock match (match 126929296), with Amber on 36 kills and Sapphire on 53. Saved November 1, 2026. How to analyze a Deadlock replay or open your own.